
Finally started a WordPress blog? So what’s your next move? Install plugins, configure the theme, optimize the blog for SEO, make money from it. However, we have seen that most beginners are not using Google Analytics in their WordPress blog for tracking the visitors!
No matter you are running a small business website or a multi-million dollar business. The thing is, for getting success from it, you must start using Google Analytics right now…
And how to do that? We have got you covered. In this post, we are going to show you how to add Google Analytics to a WordPress blog. This step-by-step guide will be helpful for all bloggers.
So, let’s get started!
Table of Contents
What Is Google Analytics?
Google Analytics is a free tracking service which is offered by Google. The service is used by millions of folks worldwide. From small bloggers to billion dollar companies. The idea is pretty simple.
When you want to track your website visitors behavior, top performing pages, pages which need optimization, etc… you could consider using this service.
When you are running an online store, you must consider using it. It will help you to get maximum ROI from your business!
Who Need Google Analytics?
Everyone
There are so many CMSs (Content Management Systems) are available for building a blog or website. No matter you are on WordPress or any other. You need to start using Google Analytics.
Why We Need It?
Like I said, for tracking the website visitors, maximizing ROI, getting success from your business. By using GA, you could track:
- Page views.
- User’s Behavior.
- User’s Country.
- Social Media Traffic.
- Traffic Sources.
- AdWords Data.
- Top Performing Posts/ Pages.
- Poor Performing Posts/ Pages.
- eCommerce Sales, Traffic, etc…
and much more…
How To Create an Analytics Property?
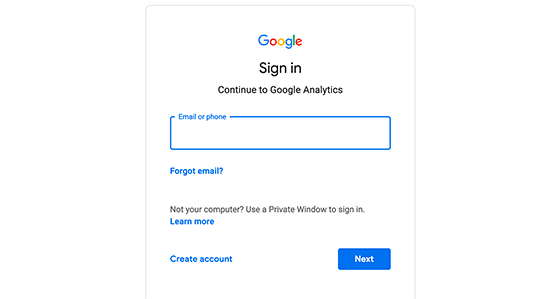
Go to Google Analytics.
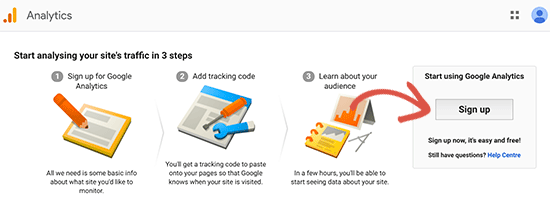
You’ll need to sign in to your Google account.
After that enter the account name and your website URL.

Then create an analytics property. There, you need:
- Website/ Mobile App.
- Account Name.
- Website Name.
- Website Address.
- Category.
- Timezone.
Once you got filled all this information, click on create a property and your property will be created.
From the Google Analytics admin settings, you could get the tracking ID and code!
![]()
That’s the tracking code which we need to insert to our blog.
How To Add Google Analytics To a WordPress Blog?
Actually, there are mainly 3 ways are available for this. We are going to cover them all so you could pick your favorite, simple method from here!
- MonsterInsights.
- Insert Headers and Footers.
- Editing Theme Header File.
Using MonsterInsights
 MonsterInsights is a dedicated Google Analytics plugin for WordPress. Thankfully, it is a freemium plugin. Which means the plugin got a free version with some limited features and a premium version with more advanced features.
For beginners, the free version is good enough. So, let’s see how we can use MonsterInsights for Google Analytics integration.
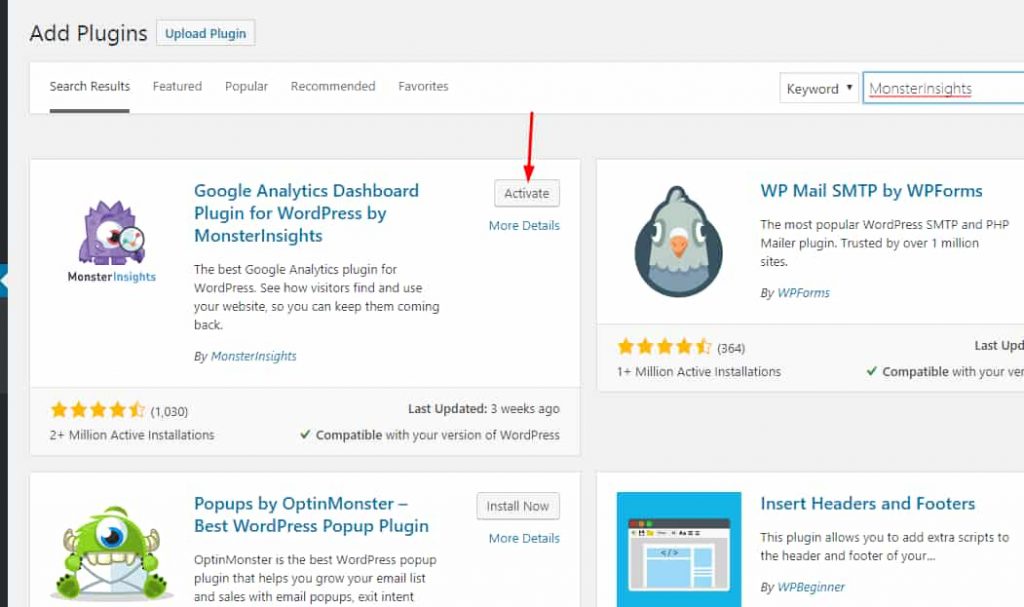
First of all, log in to your WordPress blog, go to add new plugins and search for the MonsterInsights Lite plugin. Simply install it on your blog.
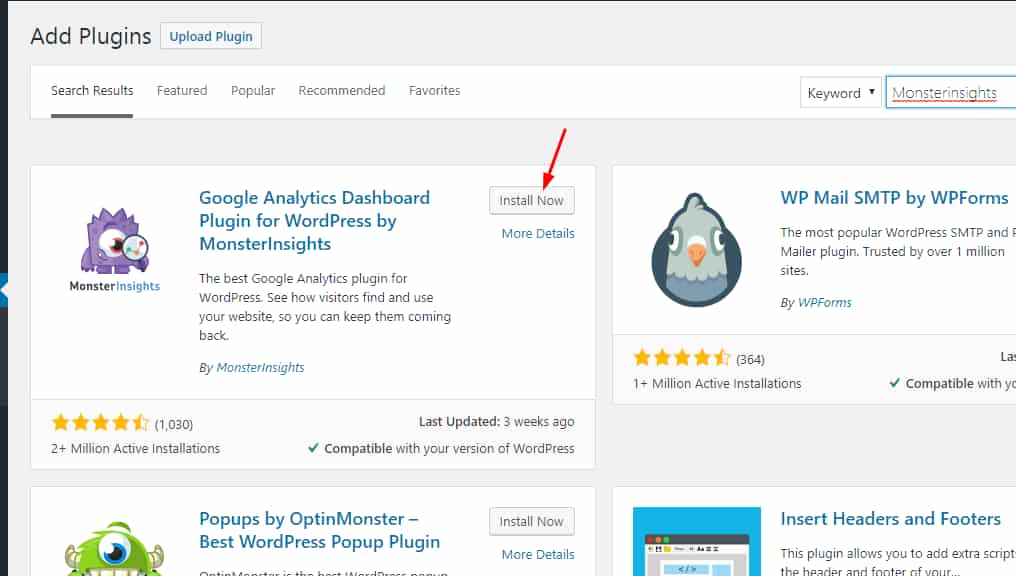
Once you got installed the plugin, simply activate it.
After installation, you will be redirected to the setup wizard. You could set up the plugin right away or exit the wizard.
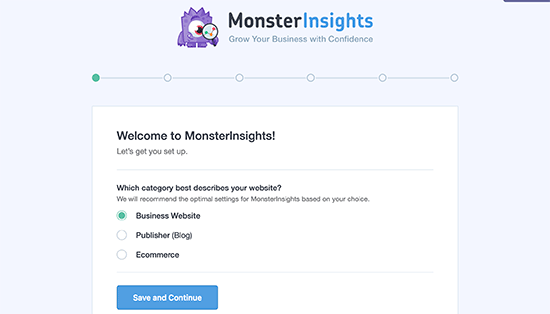
However, we are going to set up the plugin right now. In the first step, you need to choose your website’s category. There are 3 options are available.
- Business.
- Blog.
- eCommerce.
Pick an option and save it.
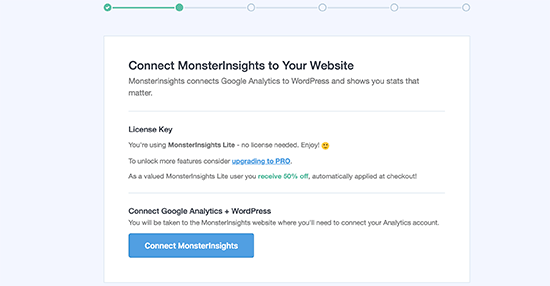
Now, you are ready to connect your Google Analytics property to MonsterInsights. When you use the free version plugin, you don’t want a license key. So, move to the next step.
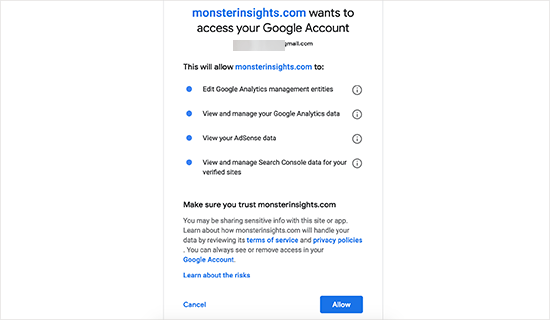
You need to choose the Google account which is associated with the analytics property.
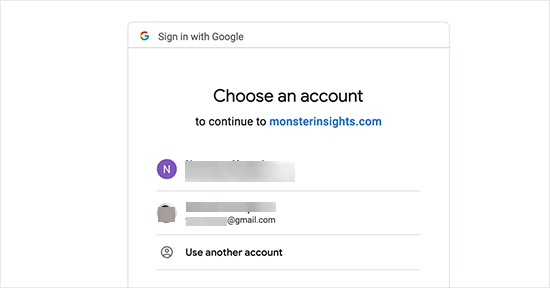
Give permission to MonsterInsights to access your account.
In the next step, you could see all the Google Analytics property which are associated with your Google account. From that page, choose your Analytics property, complete the connection.
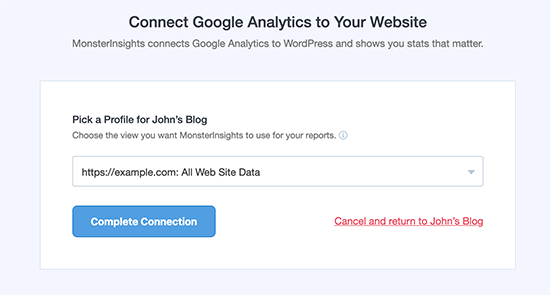
You are done!
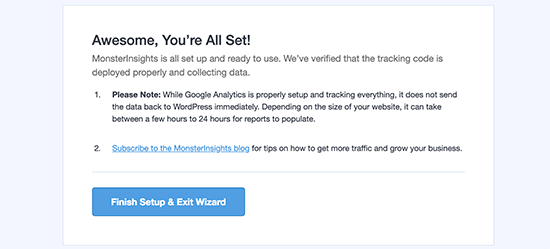
After a short while, you could see the stats right in your WordPress dashboard!
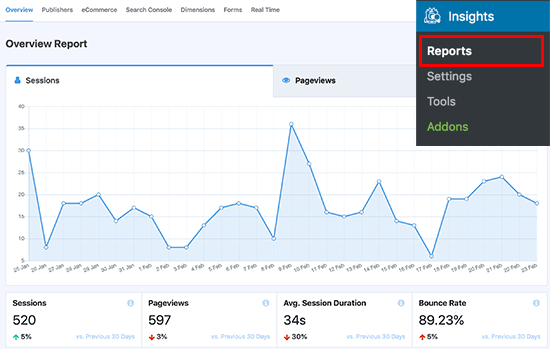
The Lite version will allow you to track sessions, page views, popular posts, etc… Also, most of us are using affiliate links for monetization. Instead of naked links, we might prefer an affiliate link management plugin like ThirstyAffiliates or PrettyLinks.
In the MonsterInsights settings, you would be able to track the affiliate link clicks!
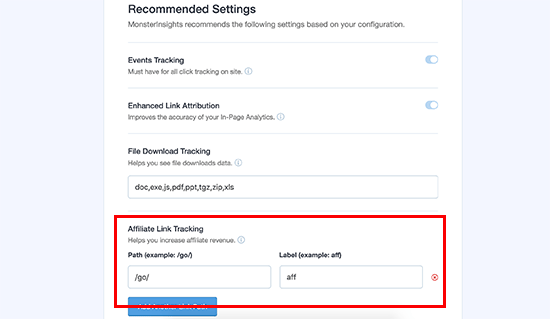
All you need to do is, enter the affiliate link prefix. Just hit save settings if you are good to go. If you want more add-ons, advanced features, upgrade to a premium version!
Using Insert Headers and Footers Plugin
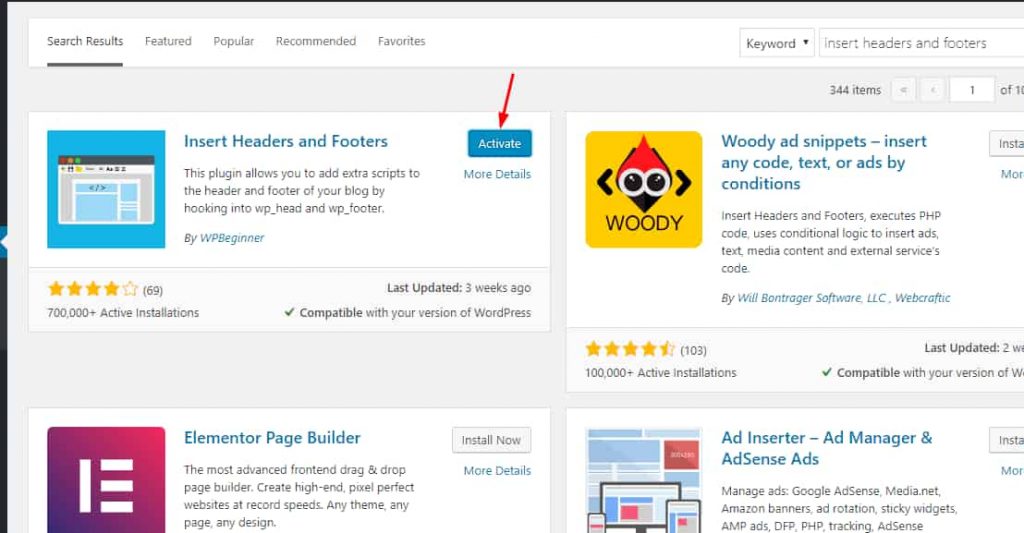
If you don’t want to use MonsterInsights, try the Insert Headers and Footers plugin. You need to install the plugin on your blog.
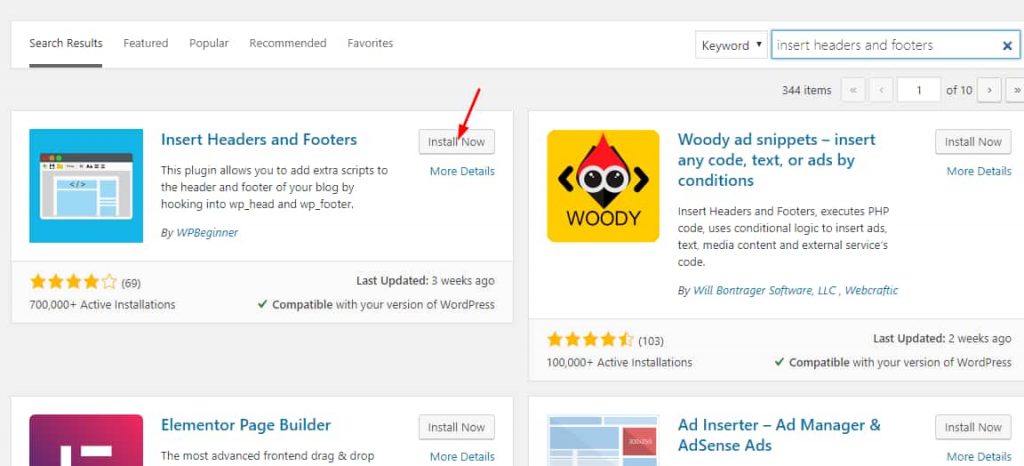
After installation, activate the plugin.
Under the WordPress settings page, you could see the plugin’s settings.
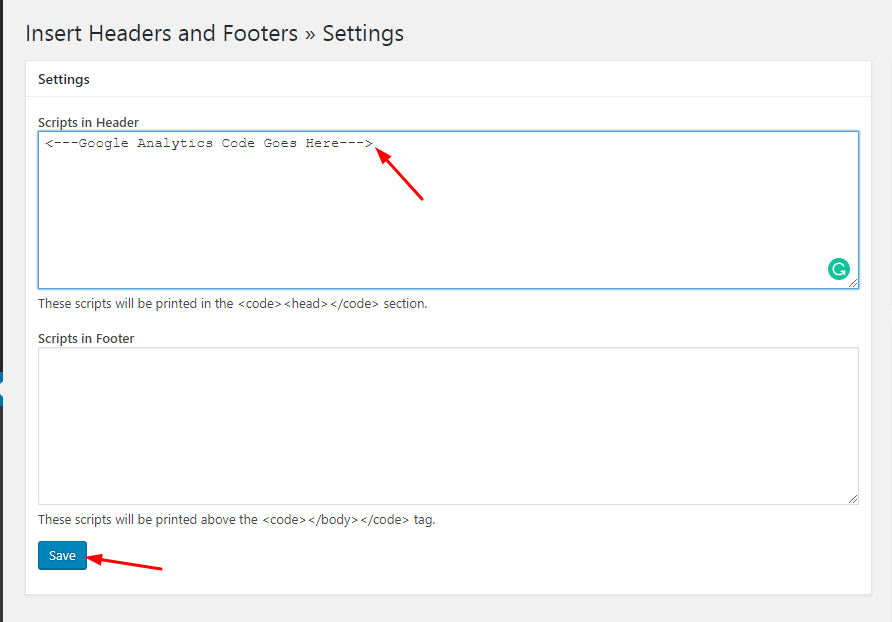
Paste the tracking code in the header field, save the settings. The code will be added to your theme’s header.
Editing Header.php
This is another simple way. You just need to add the code in your header.php file. Let me show you how.
First of all, go to the WordPress theme editor. By default, the style.css file will be opened.

From the right side, choose the header.php file and it will be opened in the editor.
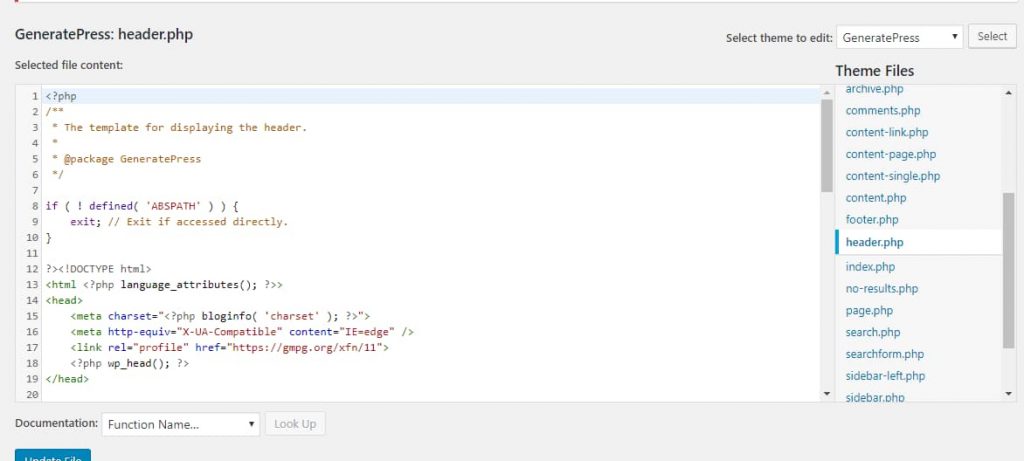
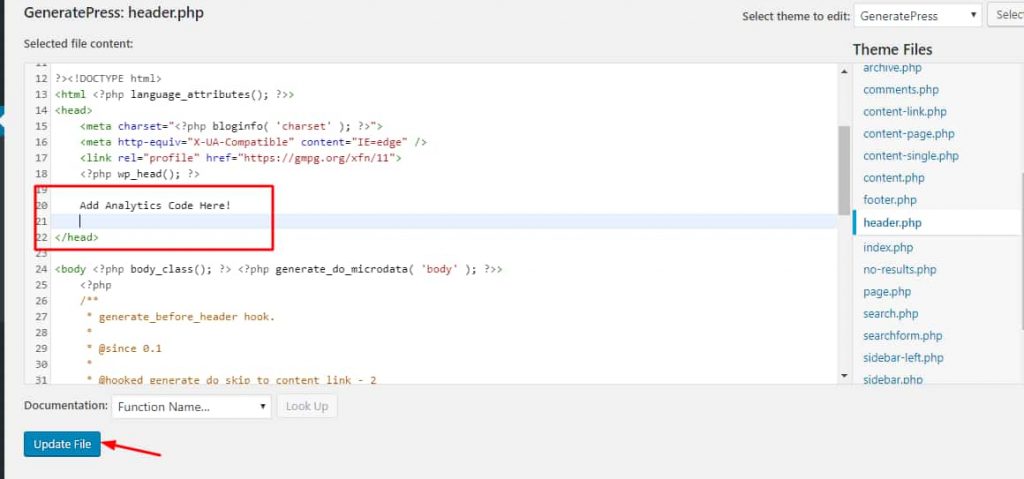
From there, find the </head> tag, paste the tracking code just before it and update the file. If the file got saved successfully, you are good to go.
You can verify it by sending test traffic to your blog.
So these are the step by step method for adding Google Analytics to a WordPress blog. As you can see, it is pretty simple and you don’t want to hire anyone for this purpose.
Which Method Is Best?
In our case, we recommend you using the MonsterInsights plugin. Because by using this plugin, you will get every stats right in your WordPress dashboard. You could try the MonsterInsights Lite with the basic features.
If you need more advanced features like search console integration, real-time visitor tracking, you need to get your hand on the MonsterInsights Pro.
If you are a guy who changes WordPress themes recently, we will not recommend you using the header.php method. You still need to edit your new theme’s header file for continuous tracking.
So, for our users, we recommend MonsterInsights plugin for integrating Analytics.
We hope you found this tutorial helpful and enjoyed the read. If you did, please consider sharing this post with your friends and fellow bloggers on social media. It will help someone to integrate Google Analytics to his WordPress blog!
Bookmarked this page. I will start a shop soon and this post will help me.
Thank you so much for this article.
Glad to find it’s helpful to you